By Dr. Julie Ducharme
Halloween is a time for creativity, and for many years, my kids’ school held a competition that allowed students to transform a plastic Halloween pumpkin into a storybook character. It quickly became a family tradition, and we had so much fun with it that I’ve kept all of the pumpkins we made. Every year, I bring them out as part of our Halloween decorations, reminding us of the fun times spent crafting together. If you’re looking to start a similar tradition or simply want to get crafty for Halloween, here are some tips to guide you in creating your own storybook character pumpkins.
Choosing the Right Pumpkin
The first and most important step is selecting the right kind of pumpkin. Plastic pumpkins are the best option for this type of project because they are durable and can be painted, cut, or altered without the risk of rotting. You can store them and reuse them year after year, which is part of the joy in creating these keepsakes. Styrofoam pumpkins are not recommended because they tend to melt if you use hot glue, which is a key tool for many of these projects. While real pumpkins can be fun for traditional carving, they aren’t ideal for this type of craft, as they will eventually rot, and you won’t be able to keep them for the next Halloween season.
Picking a Theme: Storybook Characters
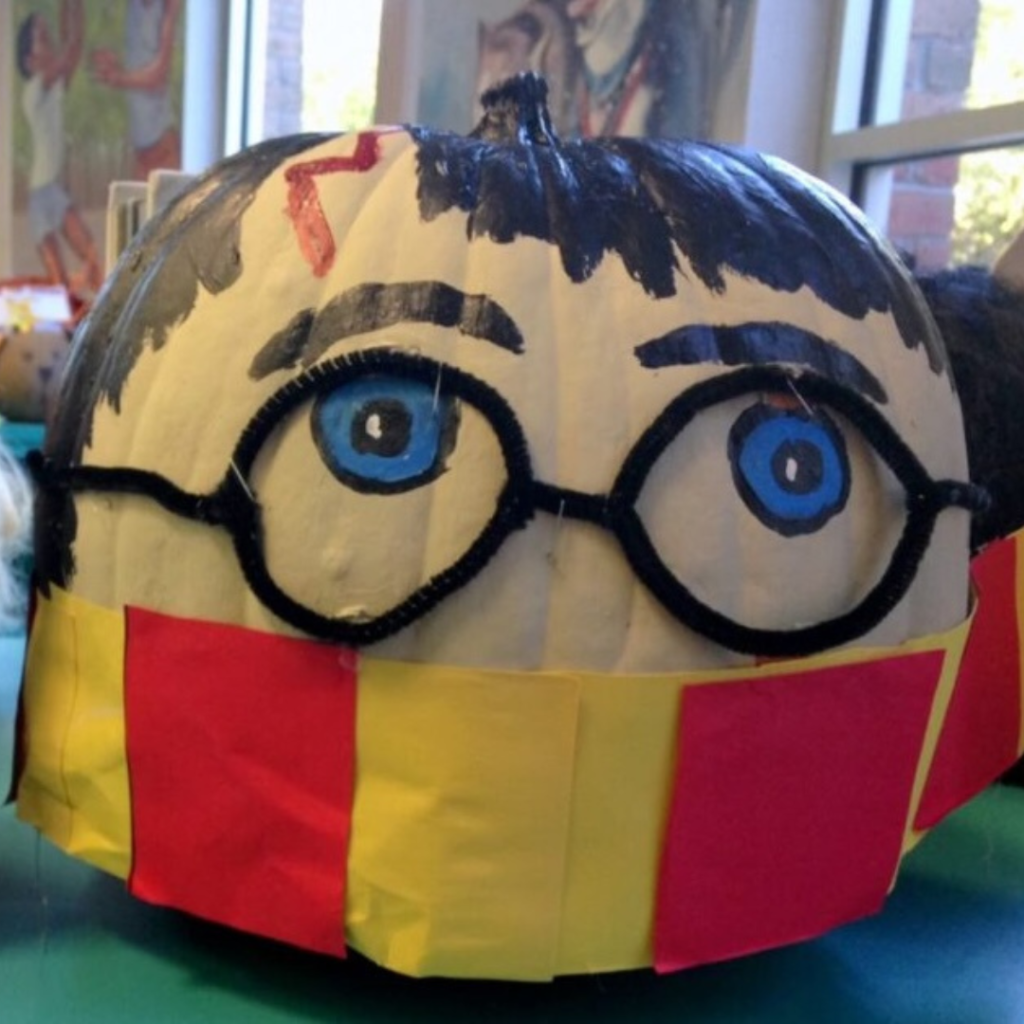
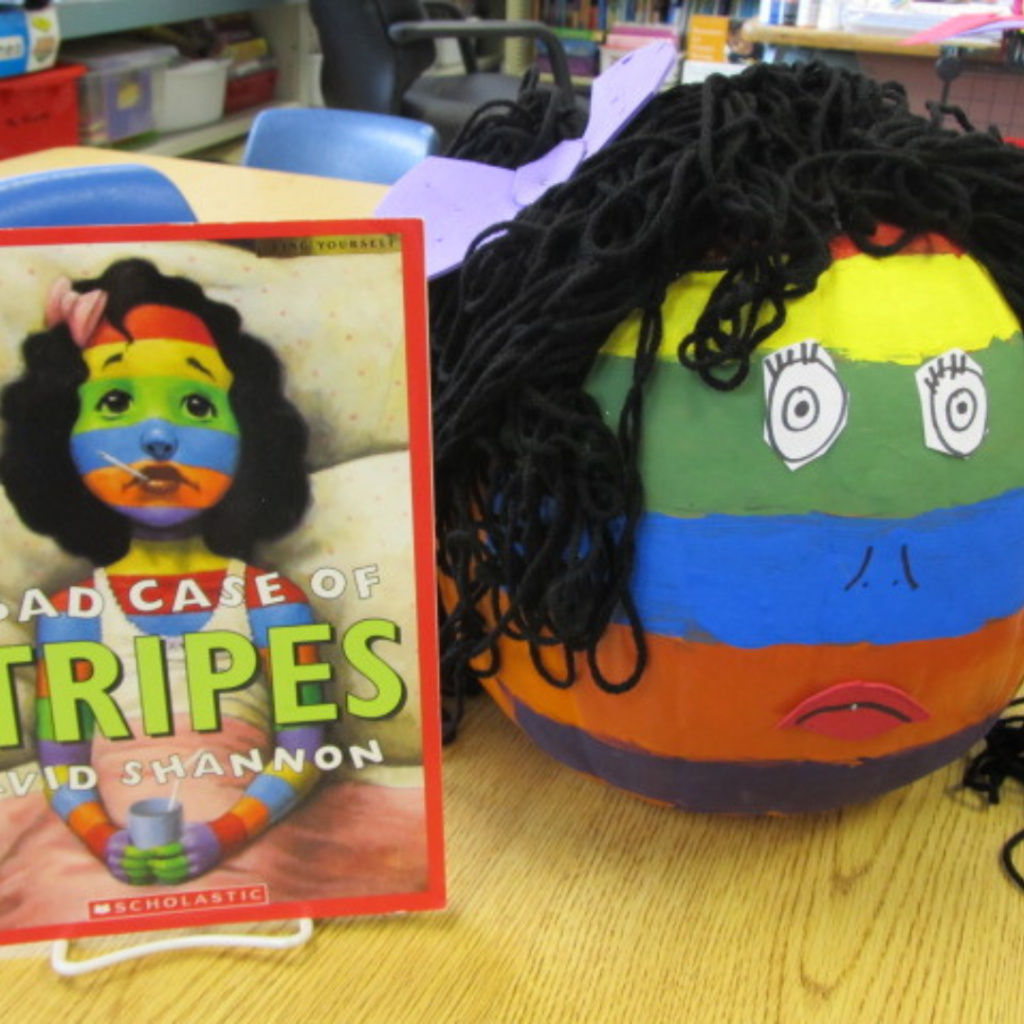
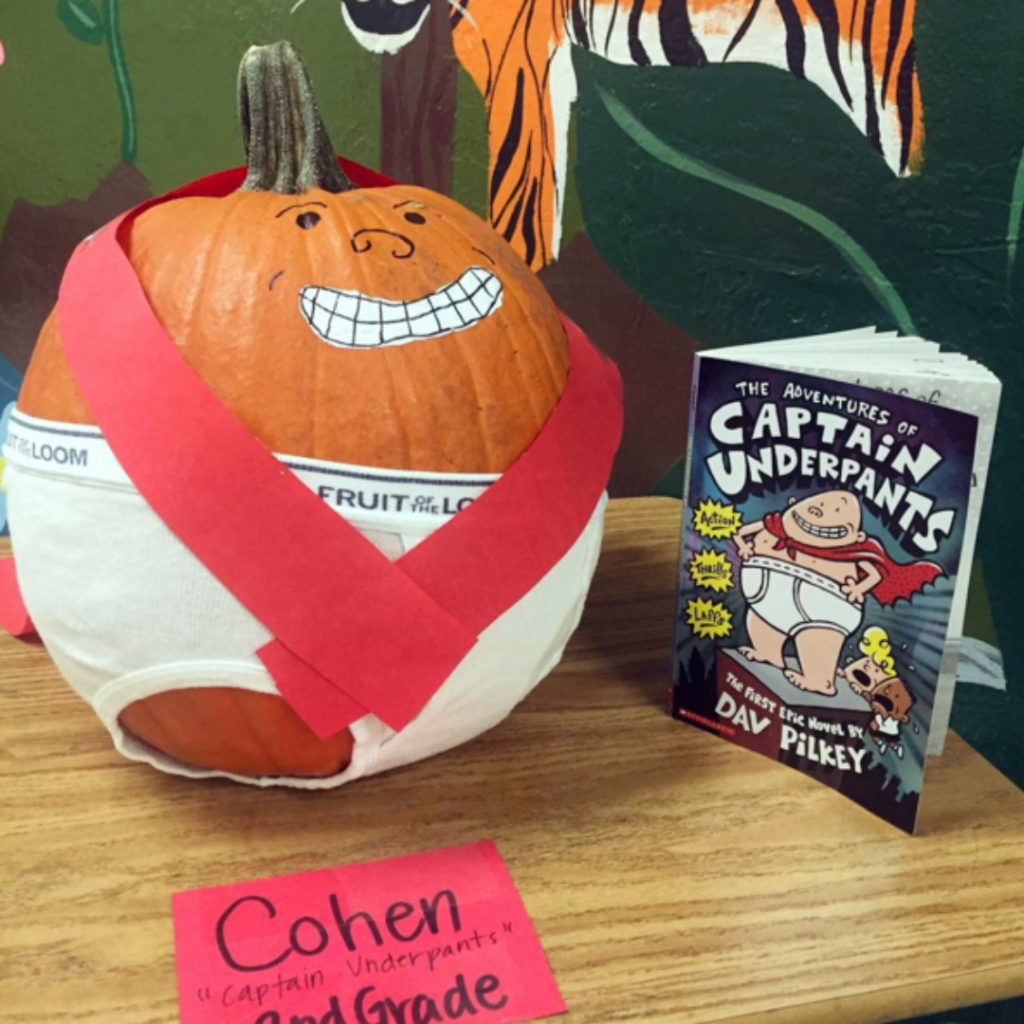
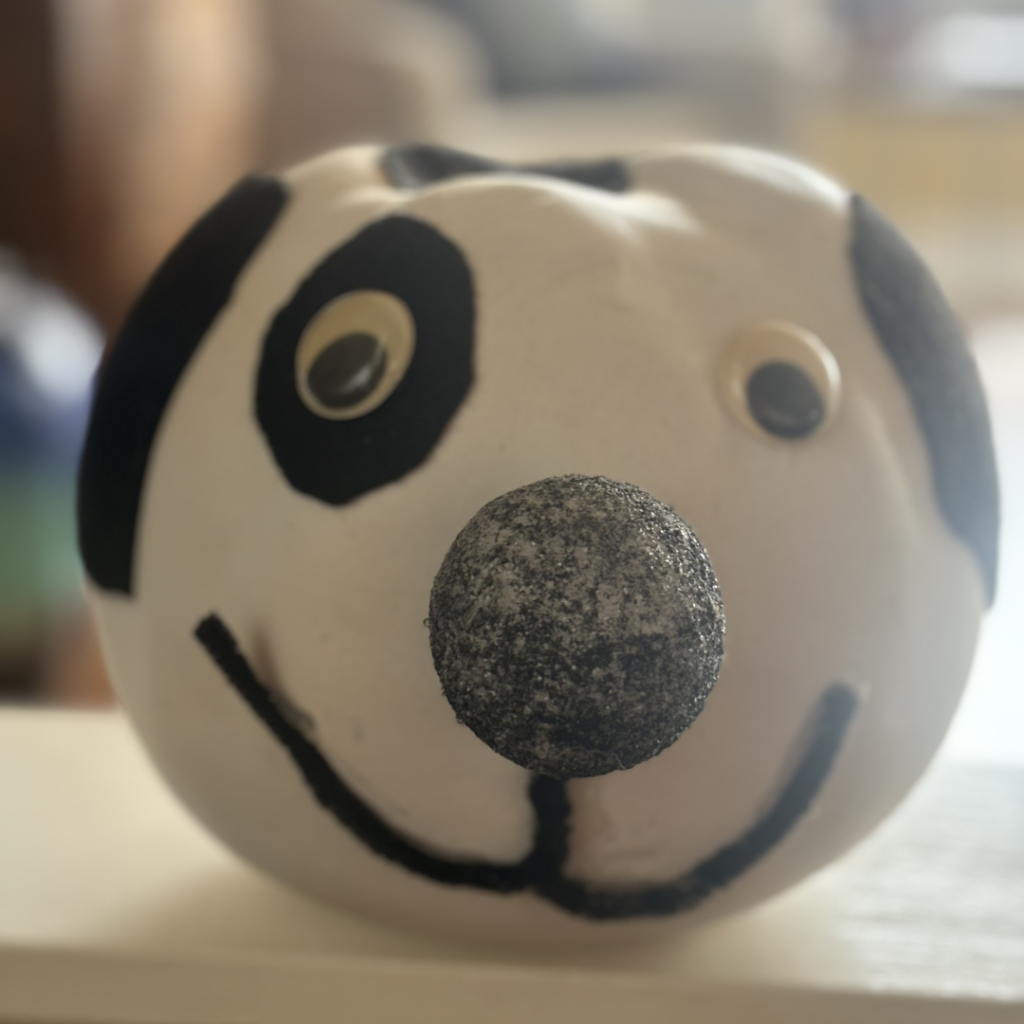
One of the most exciting parts of this project is picking a theme for your pumpkin. In our family, we always chose characters from storybooks, which allowed us to tie in a fun narrative with our designs. Popular choices over the years included characters from The Lion King, Veggie Tales, 101 Dalmatians, and even Sonic the Hedgehog and Batman. Okay, maybe the last two stretched the “storybook” definition a bit, but as my son pointed out, they are characters in books, so they counted in our competition! My own preferences leaned more toward classics like Charlotte’s Web, The Wizard of Oz, or Sesame Street, but my kids didn’t always think those were “cool” enough. Nonetheless, there’s no limit to what you can create! A quick search online will reveal countless ideas for themed pumpkins, so you’re sure to find inspiration.
Gathering Supplies
The next step is gathering your supplies. I recommend starting at the dollar store you’d be surprised at what you can find there for next to nothing. Other great options for supplies include Walmart and Michaels, but I always begin with the cheapest option first. If you’re anything like me, you probably already have a stash of craft supplies at home, so you may only need to pick up a few extra items each time you make a pumpkin. Over the years, I’ve found that I can get everything I need, including the pumpkins, for less than $20 per project.
Crafting Tips: Tools and Techniques
When it comes to crafting these pumpkins, the two most essential tools are hot glue and toothpicks. Hot glue is excellent for attaching larger items or pieces that need to stay securely in place. Just remember, as mentioned earlier, it’s best to avoid Styrofoam pumpkins since hot glue will melt them. Toothpicks are incredibly useful for attaching smaller items or creating detail work, like spikes, whiskers, or other character-specific features.
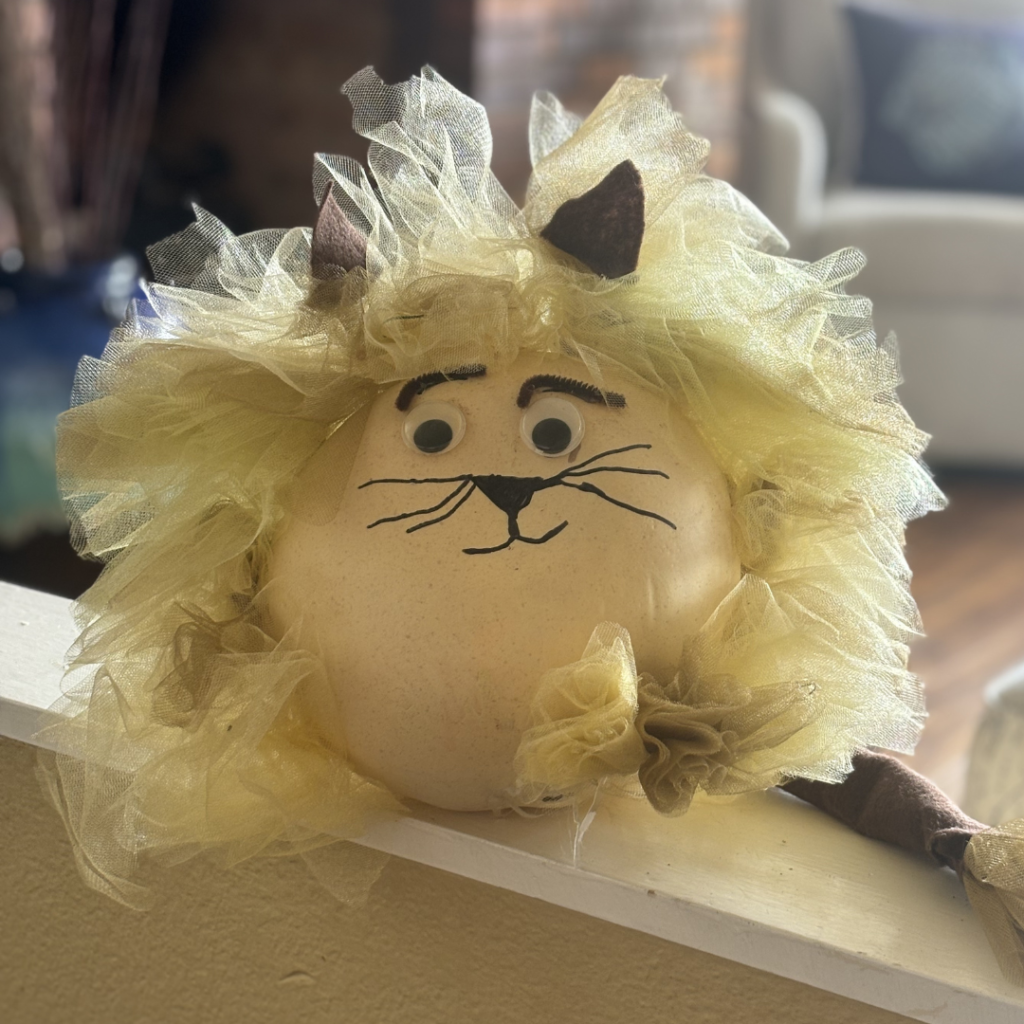
Another tip is to glue the bottom of the pumpkin to a piece of round cardboard to give it more stability. This is especially helpful if your pumpkin has a lot of decorative elements on it, as it keeps everything balanced and prevents the pumpkin from toppling over. For example, when we made our Lion King-themed pumpkin, we had so much fun adding a mane and other features that the pumpkin became top-heavy. The cardboard base kept everything secure.
Letting Creativity Shine: The Importance of Fun
One of the most important things to remember while creating these pumpkins is that there are no strict rules just have fun! The joy of this project is in the process, not in trying to achieve a “Pinterest-perfect” creation. In fact, the best part of this activity is involving the kids. Let them get their hands messy with paint, help glue on eyes or ears, and choose the materials for each character. These pumpkins don’t need to be works of art; they are special because they are family creations. Some of my favorite pumpkins are the ones where the kids took the lead, even if they didn’t turn out exactly as I had envisioned.
Displaying Your Masterpiece
Once the pumpkins are complete, display them proudly! Whether it’s on your porch, as part of a Halloween party, or simply in your home, these unique and personalized decorations will be a hit. They not only add a festive touch but also serve as a reminder of the fun memories you made together while crafting them. And, of course, if you’ve used plastic pumpkins, they’ll be part of your Halloween traditions for years to come. Every year, I love pulling them out and reminiscing about when we made them together.
Crafting storybook character pumpkins is a fun and affordable way to celebrate Halloween while making lasting memories with your family. With a little creativity, some basic supplies, and a lot of imagination, you can create your own pumpkin masterpiece. So, this Halloween, why not start a new tradition and let your inner artist (and storyteller) shine?